Exporting Your Decks
Learn how to export your cards into different media and applications
Juan Delgado - Sep 13, 2017
Basic Exporting
In this tutorial we’ll learn the basics of exporting in Card Creator. Open the application and follow these steps:
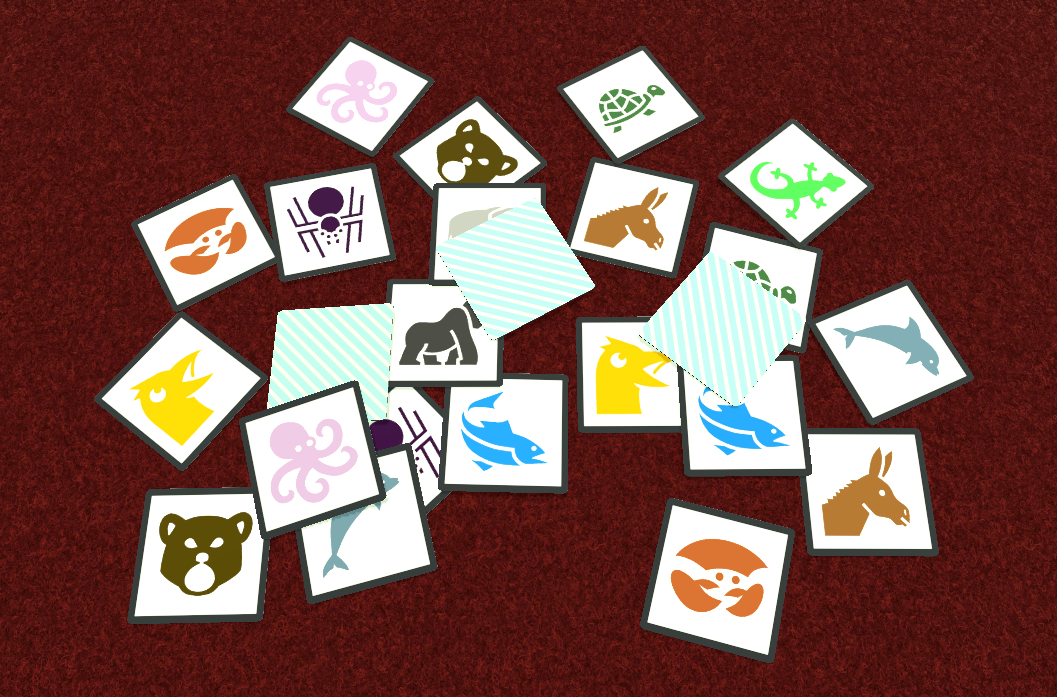
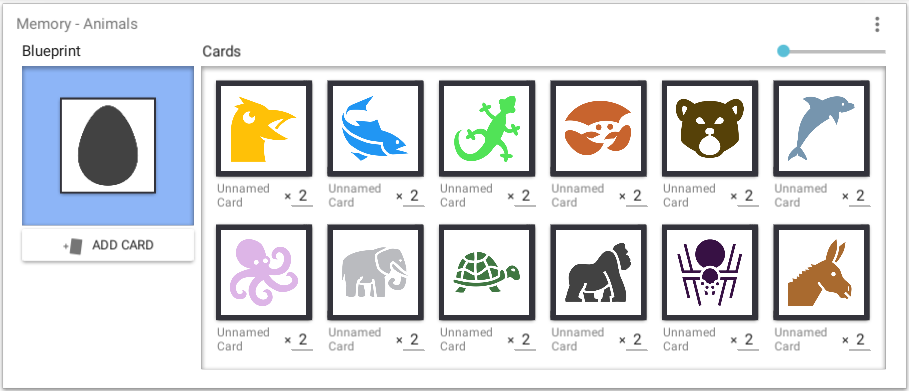
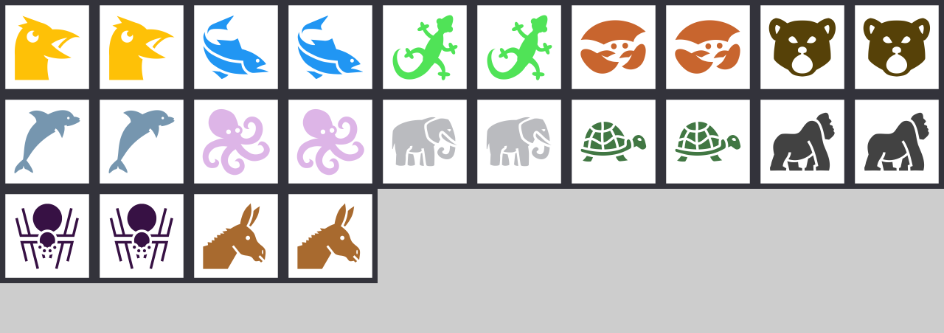
1) Load a project in Card Creator. For this example we’ll use one of the sample projects included within the application called “Memory - Animals”. To open it, click on the “Sample Projects” button and pick the “MemoryAnimals.cc” file.

2) A collection with one single set will be loaded. Notice that the amounts of each card are set to 2 to guarantee every card has a matching pair.
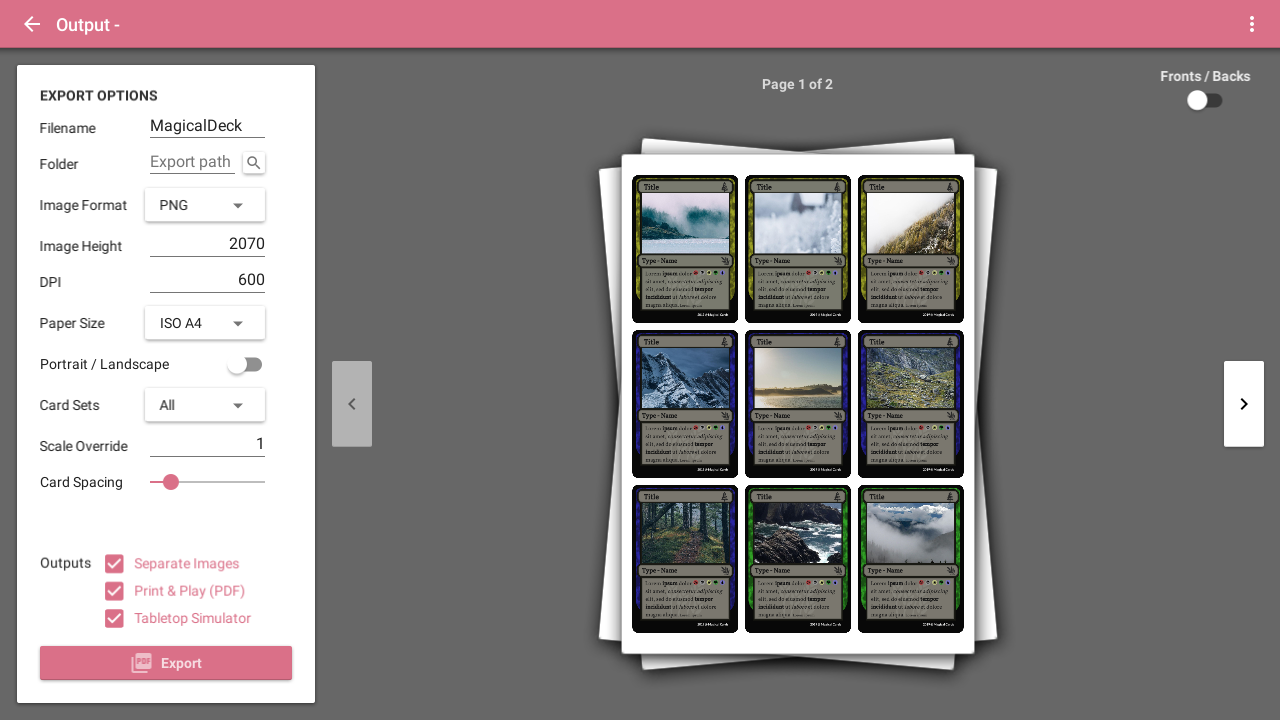
3) Click the “Export cards” button on the bottom right part of the screen

4) The export screen will open. Here you can adjust the following settings
- Cards image format: you can choose to use between using PNG or JPG as your exported cards image format. PNG is best for flat colored images, JPG works best for photos or images with a high color count.
- Image quality: you can choose 4 different levels of image resolution/quality. The higher thes value goes, the better your cards will look, but the resulting filesize will be larger and the export process will take more time.
- Paper size: here you can choose between common international paper sizes.
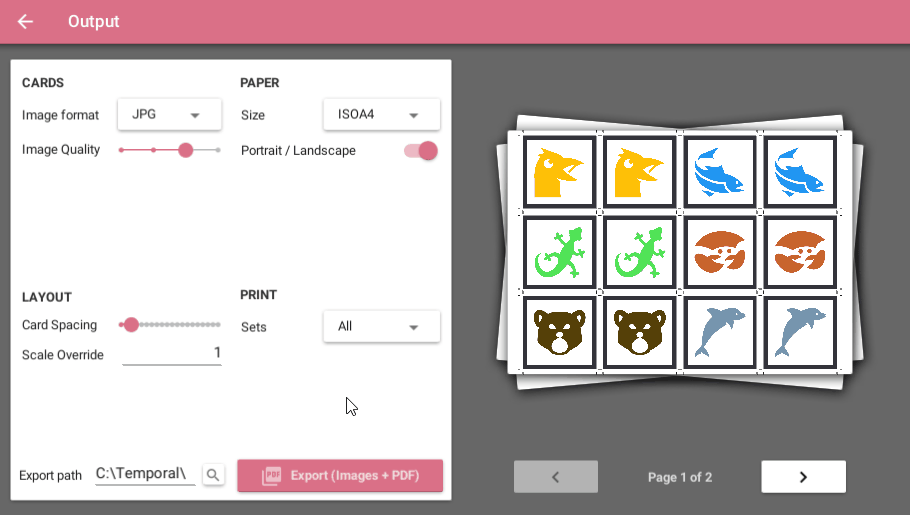
- Orientation: you can choose to print in portrait or landscape mode.
- Card Spacing: pick how close are the cards to each other. Small values are better to improve paper usage whereas larger values allow the display of additional cut guides.
- Scale override: here you can specify a custom scale factor between 0.5 and 2.0. A factor lesser than 1.0 will make your cards smaller and is useful for saving paper while prototyping. A factor greater than 1.0 will show you cards at a bigger size and its useful to spot small errors and details. A value of 1.0 is the default and will display the card at its real size, as specified in the blueprint dimensions.
- Print selection: you can use this option to print just a card set of the collection.
5) Pick an export folder either by typing a path in the lower left field or using the magnifying glass icon right next to it to browse for a folder.

6) Click the big red export button

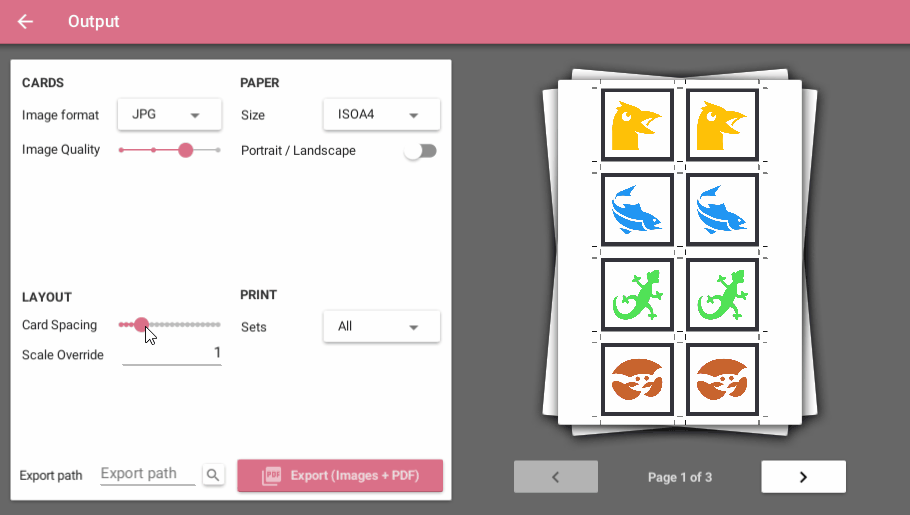
7) The exporting process will begin. After a few moments a new window will pop up with the exported contents.
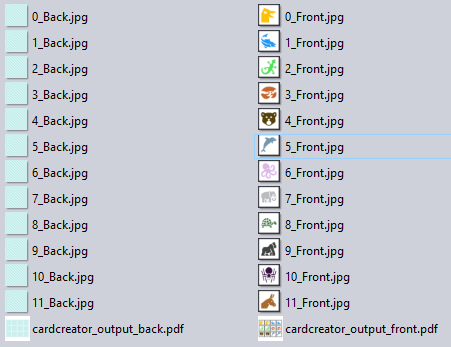
8) The export folder will now contain two card images per card (front and back faces). It’ll also include a ready to print PDF file for the front faces and another one for the backs.
Physical Exporting
If you want to use your cards in a physical format, there are some aspects to take special care of.
Printing
If you are prototyping your game be sure to set the override scale to a small value to print a scaled down version of the cards. This will also make the cutting faster and also save expensive ink.
Also, align the paper properly so each card front and back matches.
For final printing, be sure to set the override scale to 1.0 and check you don’t have any special printer driver settings turned on so the cards come out the correct size.
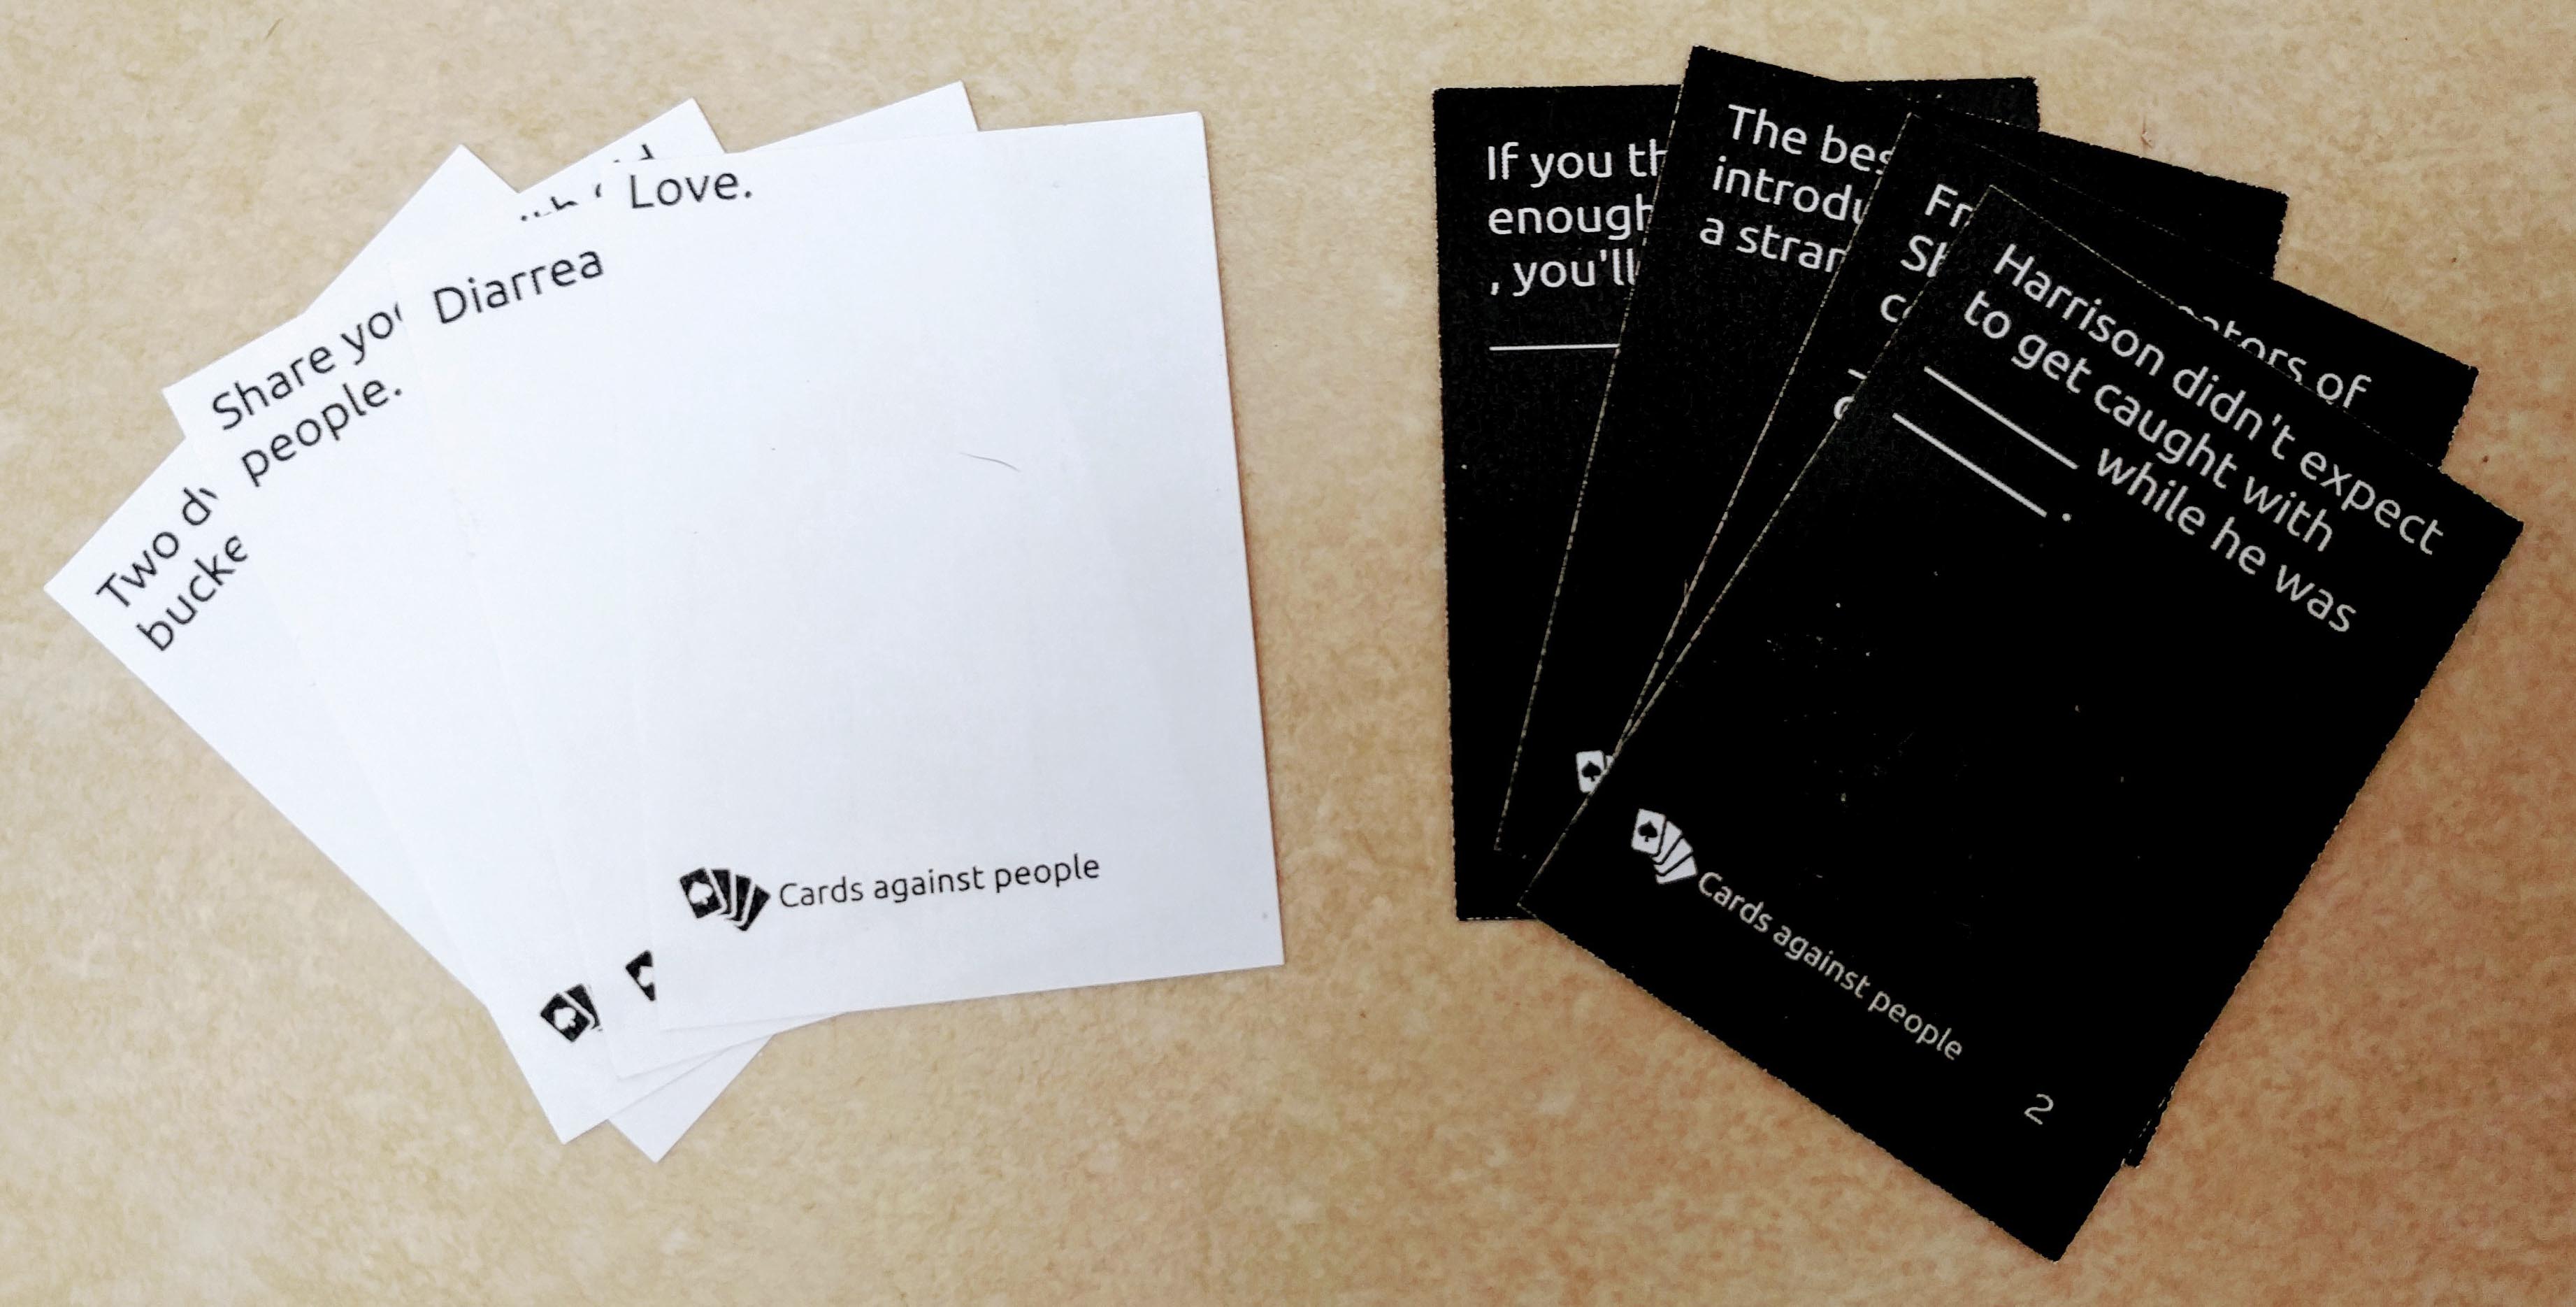
You can use any kind of paper your printer supports when printing. A thicker papel will feel better on the hand and isn’t probably too expensive so its a good option for prototyping also. For the best quality in final prints consider a professional printing service.
Cutting
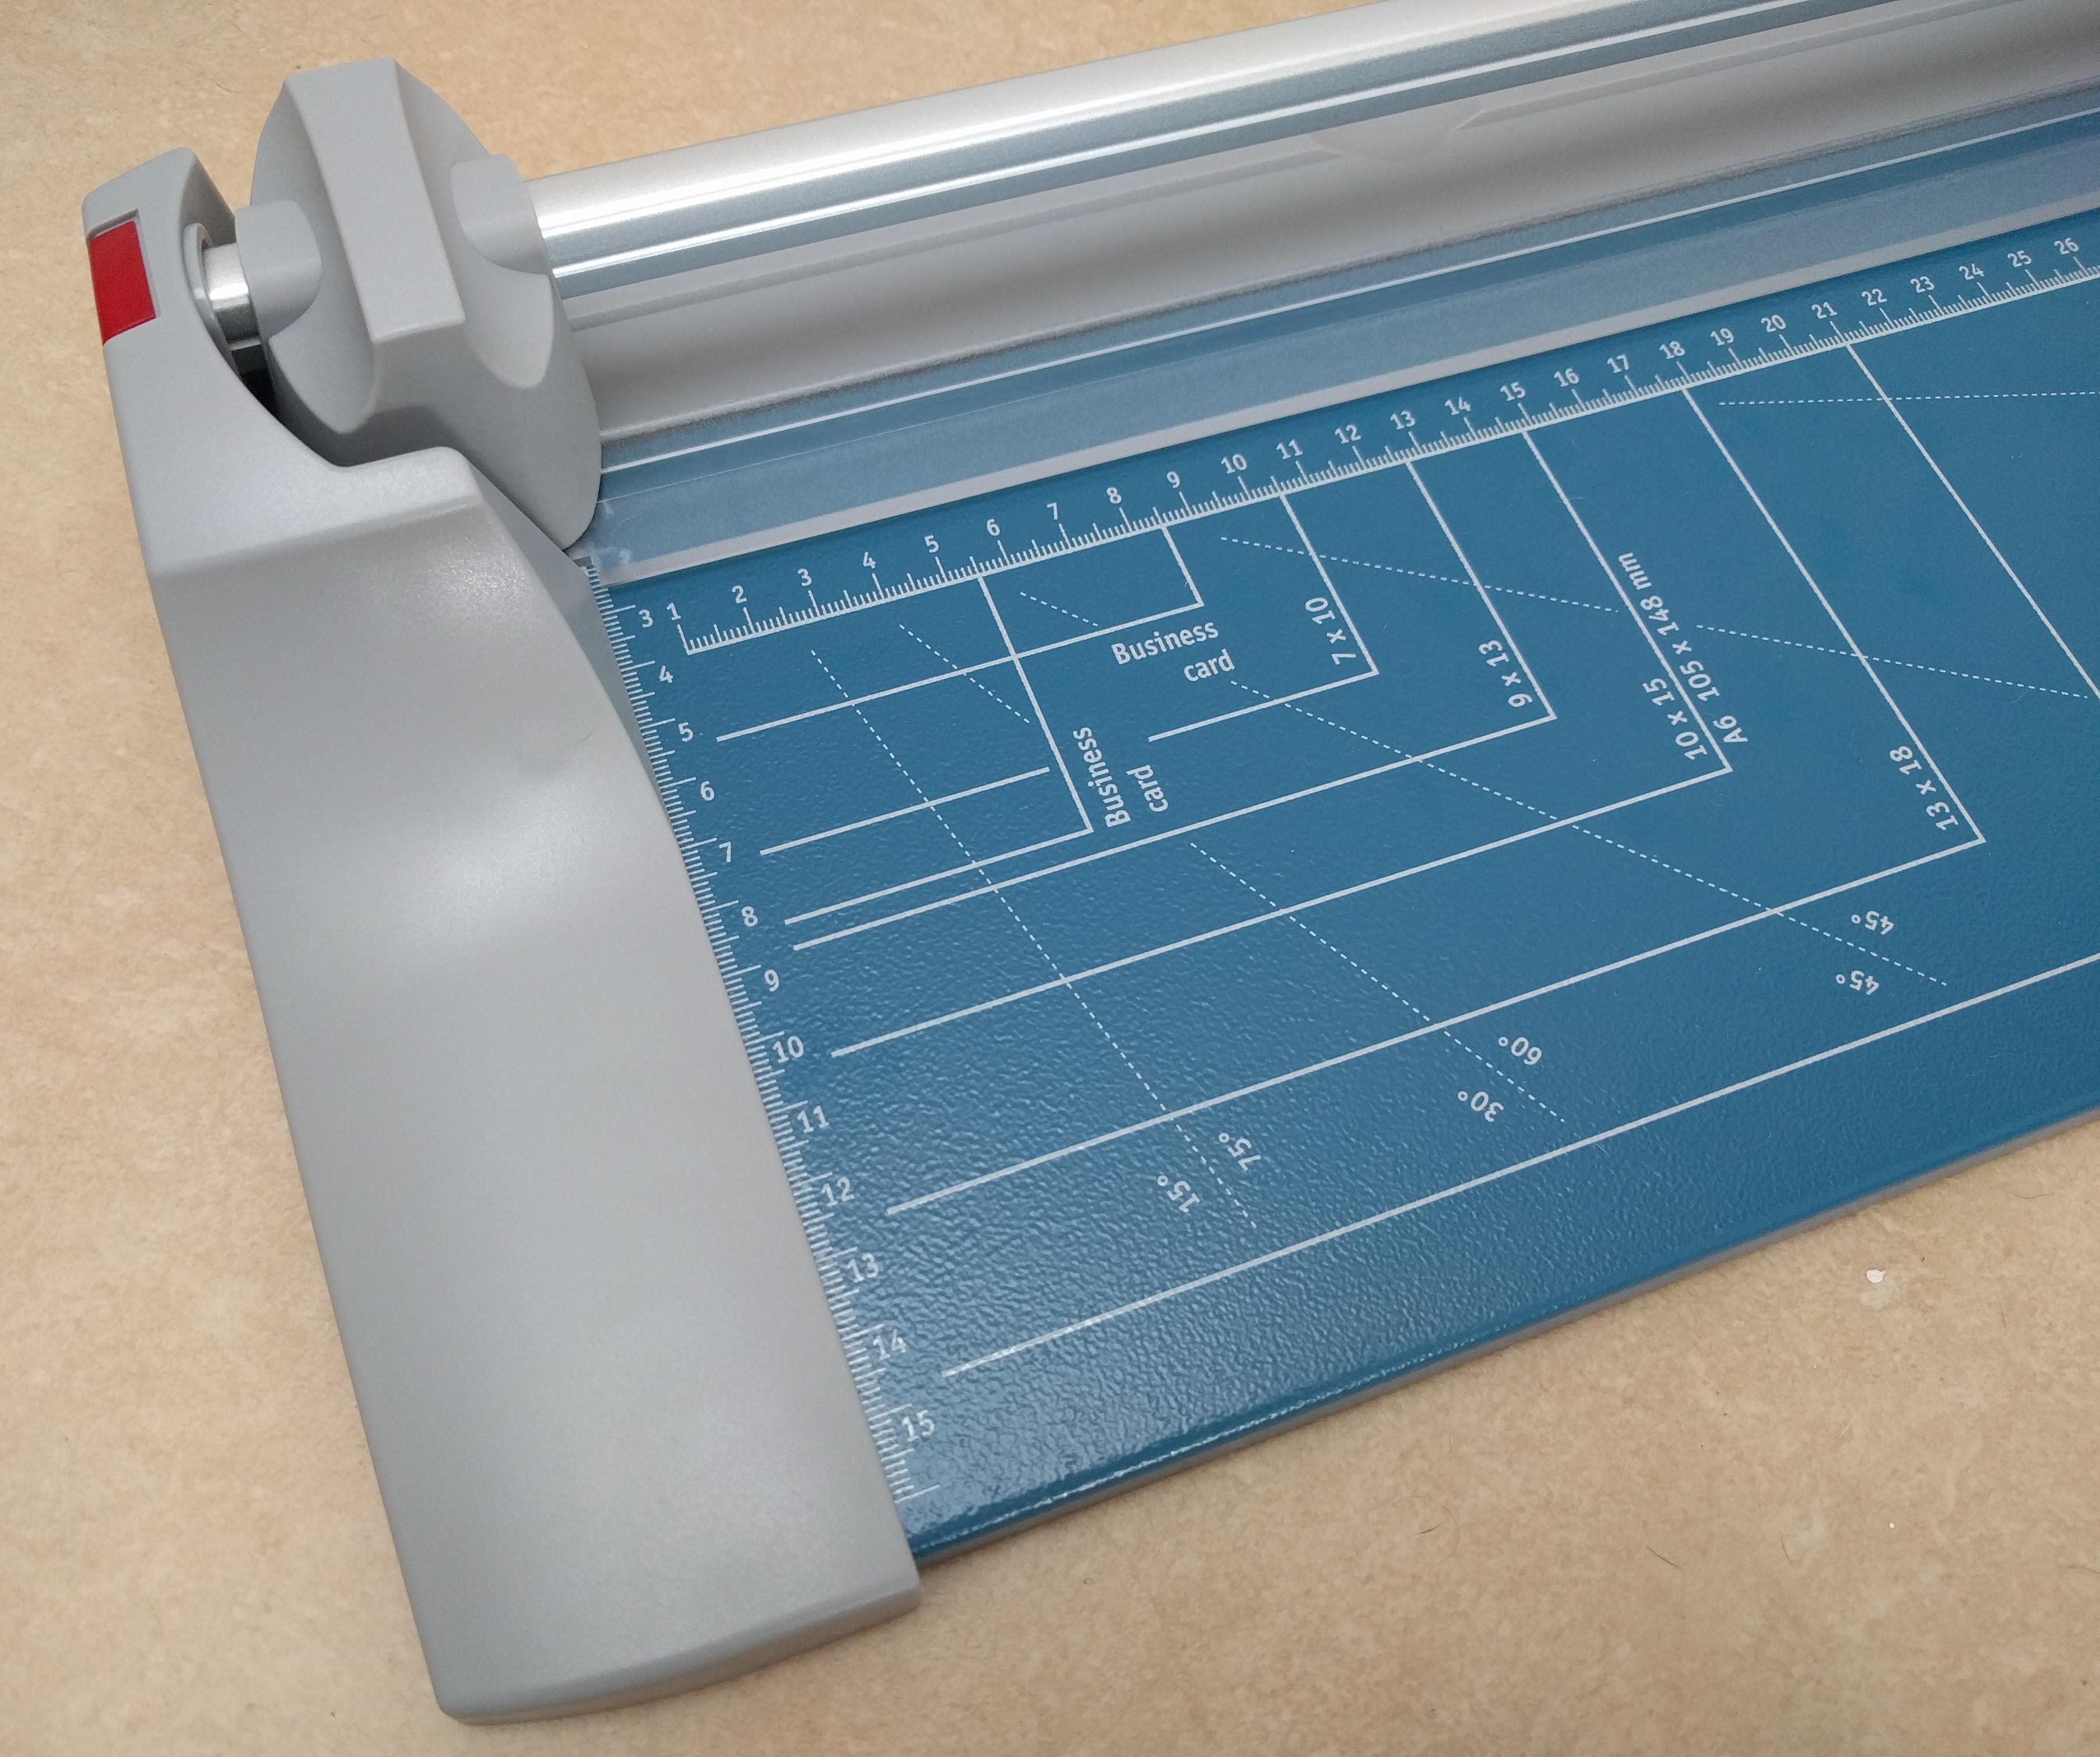
This is a very tedious process and we recommend acquiring a paper trimmer/guillotine to speed it up. Using scissors is possible and may be a good option if you just want to play a printandplay game and don’t have ny other equipment it will take more time though.
If you want rounded corners in your print and play cards, you can use a corner cutter or do it with a pair of scissors.
Bleeds
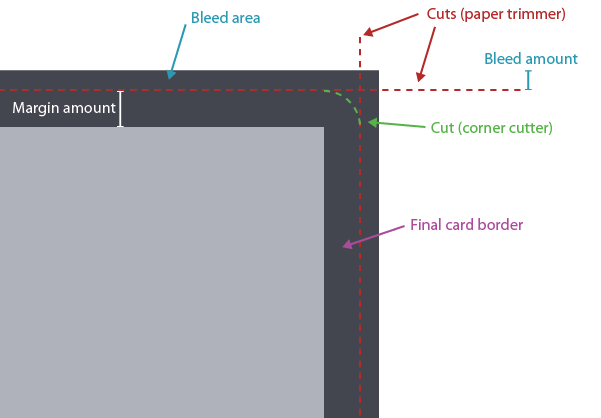
If you are looking for a professional finish in your cards, you’ll need to add some bleeding to elements next to the card edges. This way, the cut won’t leave blank areas near the card edge. More info on bleeding here.
To add bleeding to your cards, use the layer margin/bleeding slider in the blueprint editor. Please note that card previews wont display the bleed excess if not in edit mode to keep the cards as they’ll finally look in your hands.
Be sure to include proper bleeding if you want to use your card PDFs for final printing and want to get the best results.
Exporting to Tabletop Simulator
1) Export you card collection as you would normally (see the top section) and open the export folder. 2) Open the subfolder called “Tabletop Simulator”, you’ll find your collection images in the shape of image sheets for your card fronts & backs.
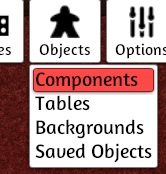
3) Copy the path to this folder, we’ll use it soon. 4) Open Tabletop Simulator and start a game (singleplayer for this example). 5) Click on Objects->Components
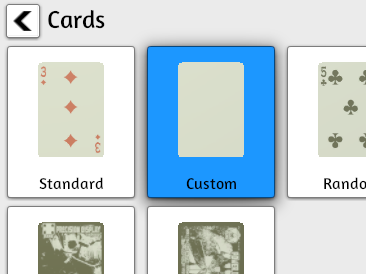
6) Select “Cards” , then “Custom”.
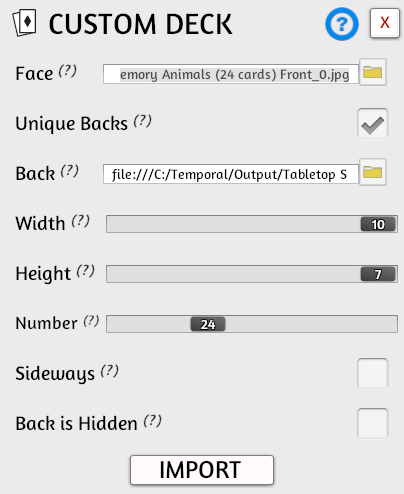
7) Browse for the exported file (you can now paste the path you copied before) and select it. Do the same for the back cards with the corresponding image. Check the “Unique backs” checkbox. The file name includes the total card count. Set the “number” slider to match this value.
The box should look like this:
8) Click “ok” and enjoy your digital cards!